I will not wear open toed shoes officially until my feet are sandal ready. Over the years I have perfected my DIY pedicure for rough feet, and I am ready to share it with you so that you can get sandal ready, too. To give you an idea if this routine is for you, I need to share the TMI about my feet. My feet get really bad in the fall and winter. I suffer from rough, dry, flakey heels, as well as a build up of dry skin on and around my toes. In this post I will share the products that I use to cure these issues, and even discuss painting your toes.
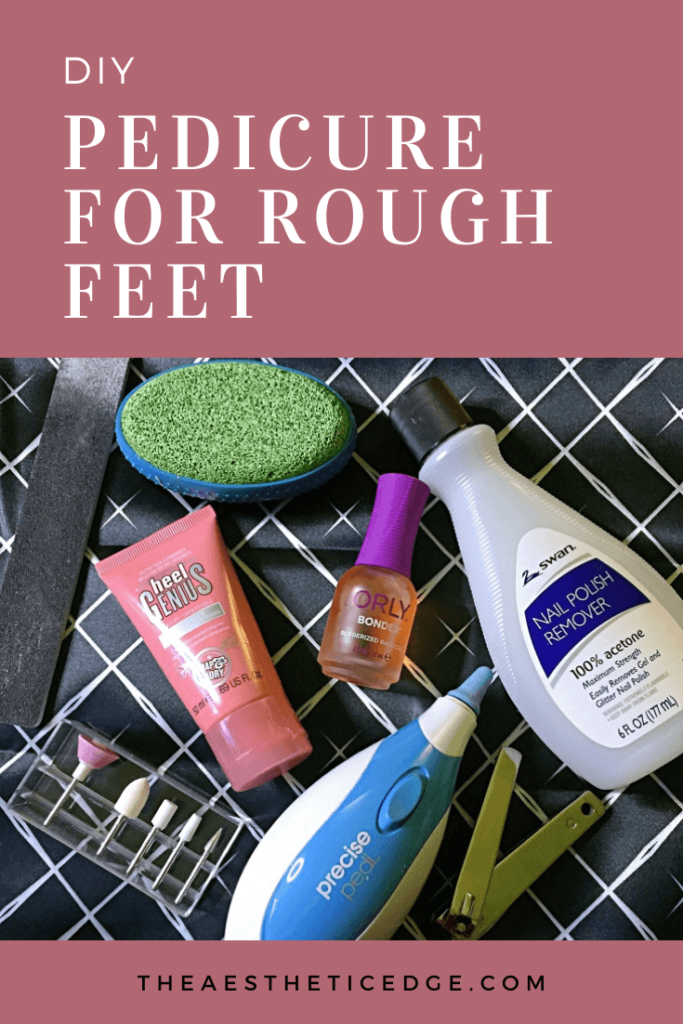
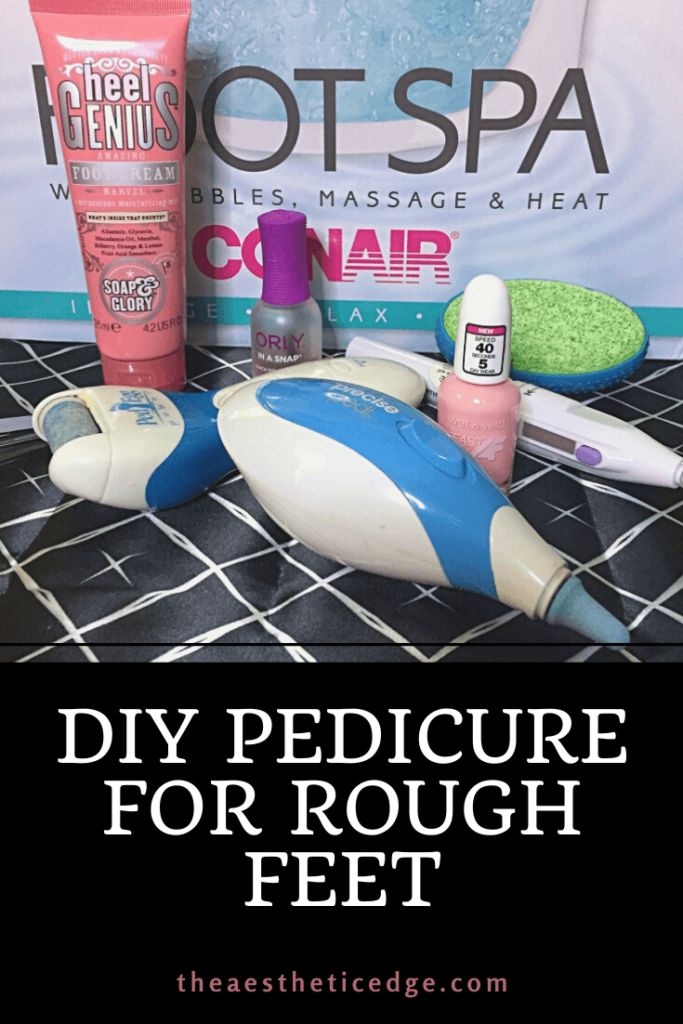
DIY Pedicure for Rough Feet
Holy Grail Foot Cream
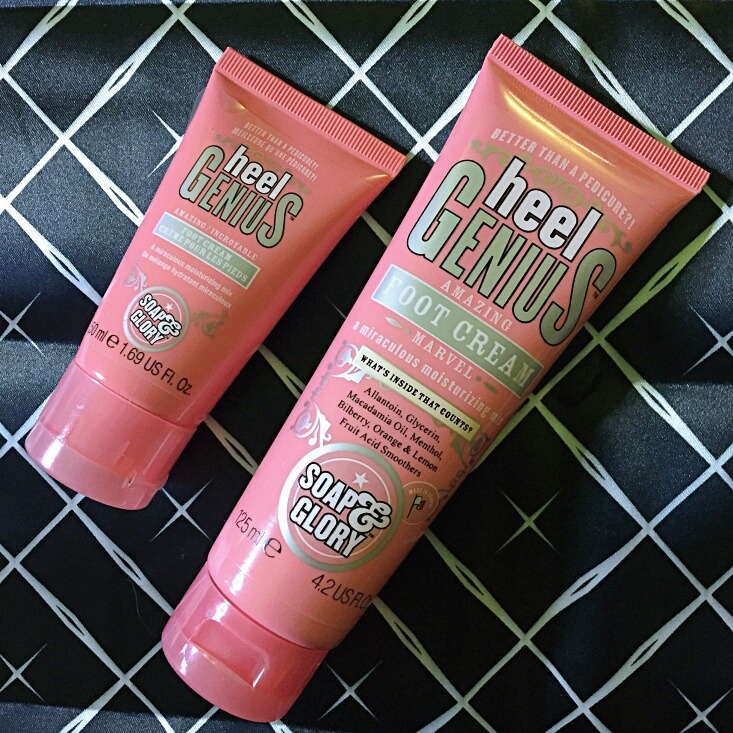
I cannot share my DIY pedicure for rough feet without reminding you all about a product that is forever on my holy grail list. Soap and Glory’s Heel Genius is truly a magical product. I apply it at night before bed, and I do wear my socks over this product. After one night my foot issues are significantly diminished. With regular use, it is possible to get rid of 100% of your dry, rough skin, so you will not have a need to continue with this pedicure routine.
However, when I fall off the bandwagon and let my feet get really bad, this product alone will not get 100% of the work done. That is when I fall back on this routine, but I use this product regularly to maintain my feet.
Do not apply this product to any cuts or broken skin!
Related Post: Holy Grail Products – Hair, Skin, and Beauty
Foot Spa
Let me set the scene for you here. Every Christmas, stores such as Walmart get a surplus of these foot spas. They never sell, end up getting clearanced down to nothing, and finally they are gone. You can figure that everyone and their mama has one of these. I got mine for around $5 a few years ago as Christmas clearance, and I have to say, this is a great purchase. I may only use it a few times a year, but it really helps.
If you have ever tried to remove dry, dead, rough skin on feet that have not been pre-soaked in water, you will notice that the skin flies everywhere like dust. Pre-soaking your feet for about 10 minutes prior to removing dead skin will fully prevent that. Plus, it is super relaxing!
My Conair Foot Spa features bubbles and heat, plus it has a pumice stone and a textured top to massage the feet. You can totally use it with epsom salt for an extra spa-like experience, but that is optional.

Removing Dry Skin
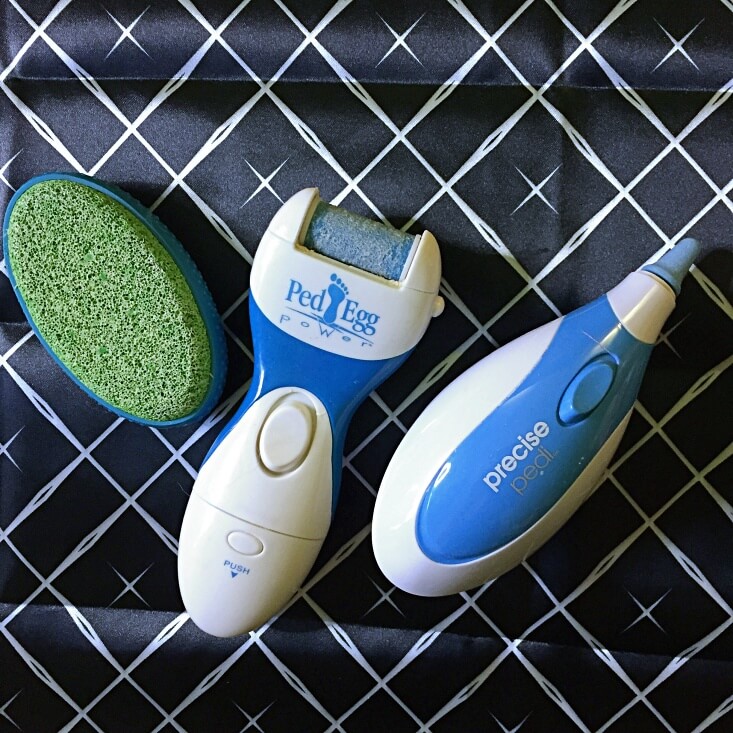
In my DIY pedicure for rough feet there are two different methods that I like to use to remove dry skin from my feet. The classic method is a pumice stone. You simply wet your feet, as well as the stone, then go to town rubbing it over your skin. What I like about the pumice stone is that you really cannot hurt yourself.
The other method is to use a battery powered foot file. There are so many on the market today, and whatever you decide to buy will work just fine. I reserve this method for more extreme dry skin that requires extra elbow grease. You want to be super careful with these tools because it is easy to overdo it and cause tender, or even bleeding skin. Those areas will burn in the shower for a few days.
Again, I recommend soaking your feet before removing dry skin to avoid it dusting into the air. If you do not want to paint your toenails, you can totally stop here and use your own foot cream of choice, or Heel Genius, to maintain your feet.
Pedicure Tools
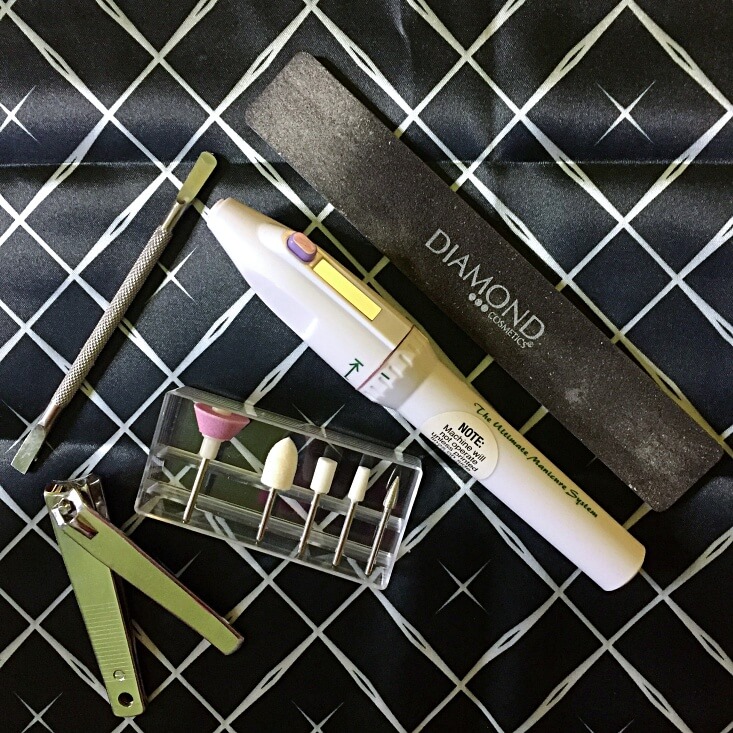
Anytime that I get into discussion on manicure tools or painting nails, I will always direct you to my Nail Care Routine blog post. That is your number one place to learn everything from how to paint, what tools to use, what to avoid, and more. The tools that I am about to discuss should NEVER be used on your natural fingernails, with the exception of the cuticle pusher. In the blog post I explain in detail, but in short, these tools can cause mini tears and damage to your real fingernails that will lead to breaks and chips.
Related Post: Nail Care Routine & Basic Manicure How-To
Toenails can definitely take a beating, and my thick nails need some elbow grease, so I will literally do anything to them. My big toes especially suffer from an uneven surface with dips and ridges. I like to use a toenail clipper to first cut them down to size. Next, I turn to a standard nail file, or a battery operated manicure tool, to file the tops to ensure they are straight. The battery operated tool is great for buffing the surface of the toenail to remove ridges. You can also use the cuticle pusher attachment to remove stubborn cuticles. Sometimes they are harder to remove on feet which is why I go that route, but you can always use a normal cuticle pusher, too.
Paint Those Toes!
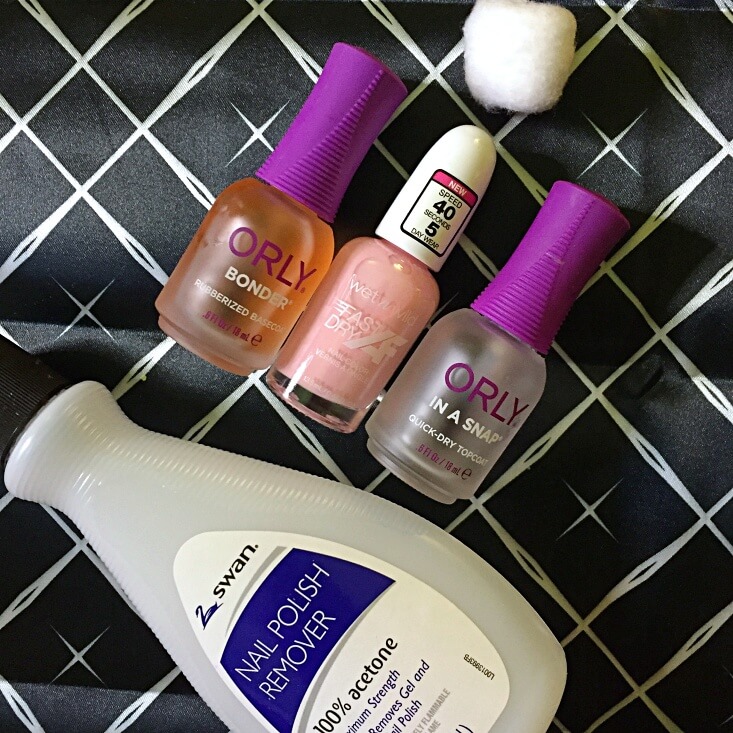
We are at the last step of my DIY pedicure for rough feet, and that is painting our toes. Again, following my Nail Care Routine to ensure your polish lasts, we start by dehydrating the toenails. You can do this by applying acetone to a cotton ball, then swiping it over each nail. This will remove any dirt and oils, plus ensure the nail is fully dried out for maximum polish adhesion. Then, apply one coat of base coat, two coats of any color of your choice, and at least one coat of top coat. I prefer two coats of top coat. I do not take the time to clean the polish from my cuticles like I do for my fingernails, but you might want to keep the acetone handy to clean your skin if you get messy with the polish.
Related Post: wet n wild Fast Dry AF Nail Color Review & Swatches
Shop the Post
Conclusion
We are at the end of my DIY pedicure for rough feet. This routine is designed to remove even the most stubborn dry, rough, and flaky skin on the feet in an effort to get them sandal ready. Each step that I take is super easy, and not many materials are needed. You probably own most of the tools that I recommend, and I have outlined what is optional. This is my go-to routine to fix my shabby feet, and it works like a charm. Until next time, continue to let your true beauty shine.
What are your tips to keep your feet moisturized?
